Most homeowners assume a meaningful living room renovation means weeks of disruption, dust, and contractor invoices. The reality with flat wall panels is dramatically different. A single accent wall — the kind that makes guests immediately ask "Who did your renovation?" — can be planned on Friday and finished by Sunday afternoon. Here's exactly how to do it.
Why Flat Wall Panels Are the Smartest Renovation Choice
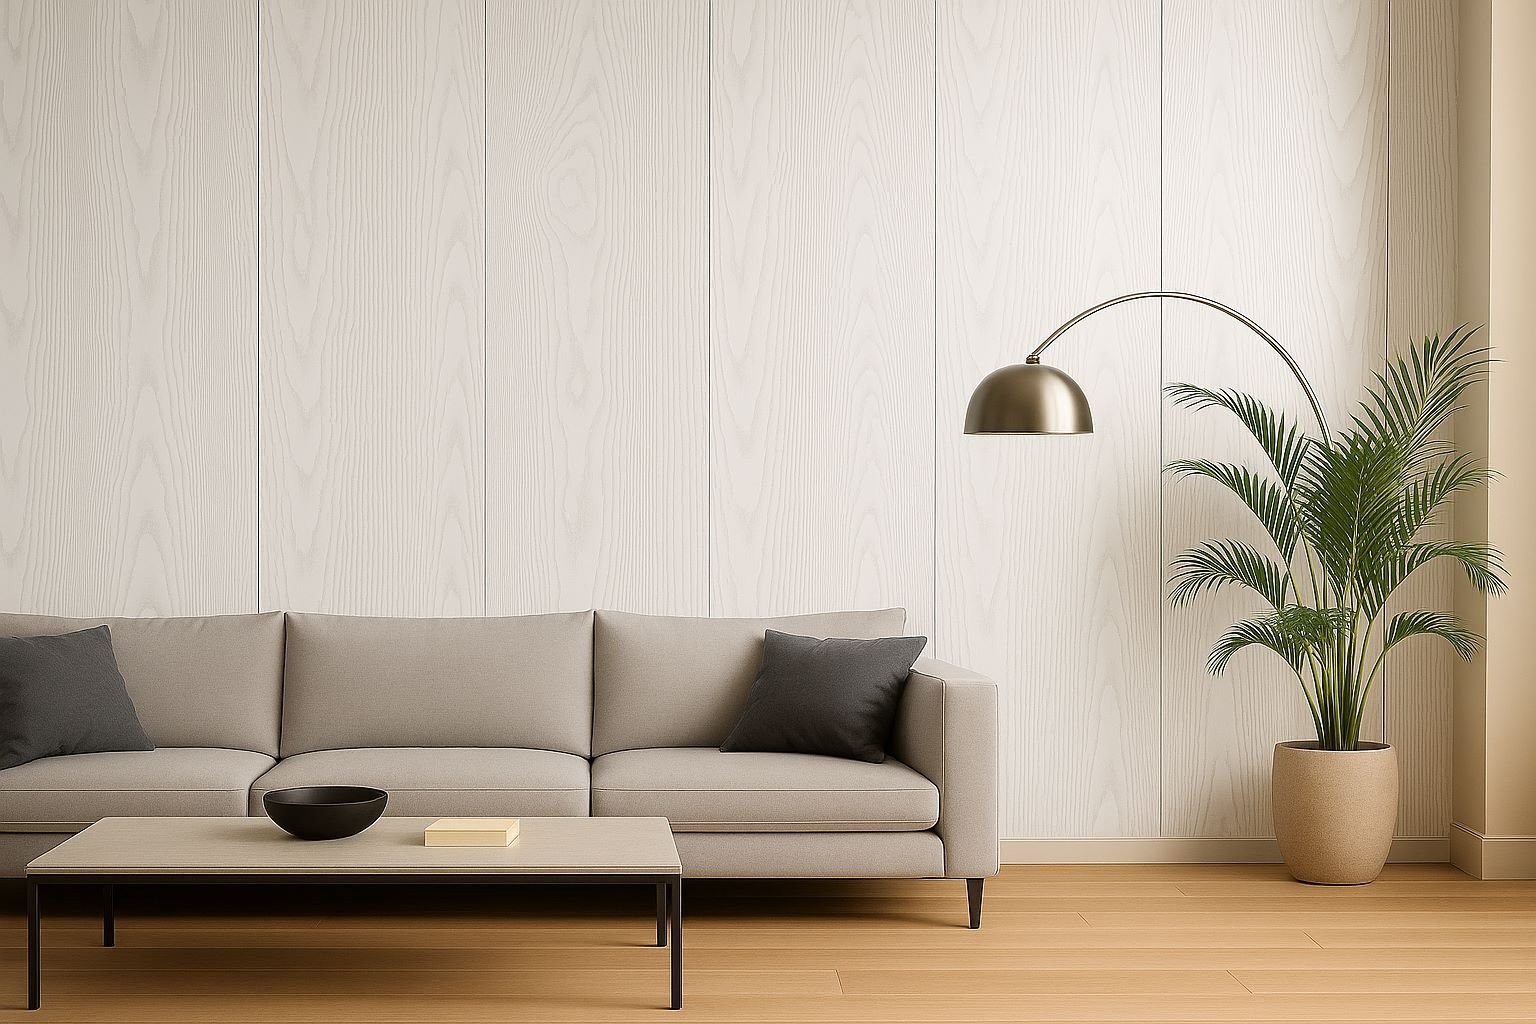
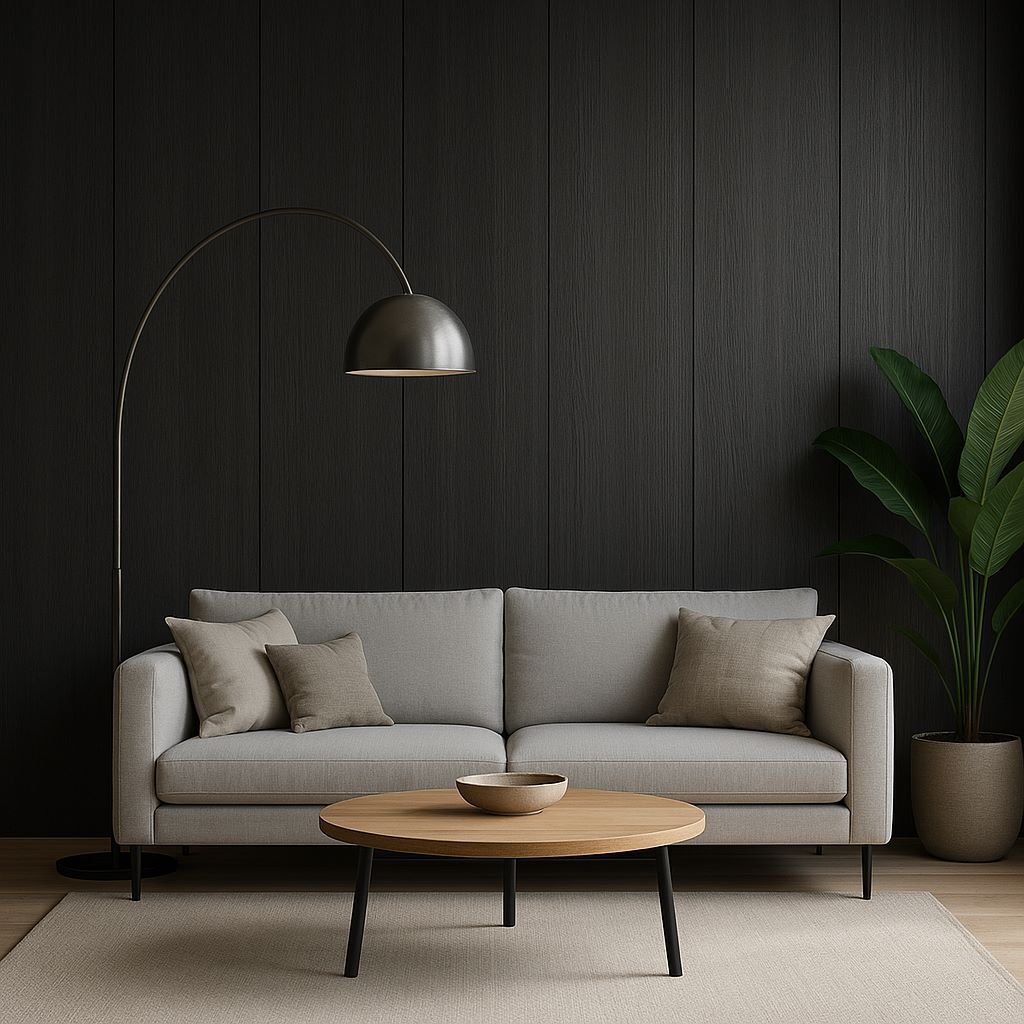
Unlike tile, plaster, or traditional wainscoting, flat wall panels are a DIY-friendly wall covering that installs directly over existing drywall with no specialist tools required. The panels interlock seamlessly, leaving no visible joints or fasteners. The result is a surface that looks custom-built — because functionally, it is.
For Canadian homeowners, there's another practical advantage: PVC flat panels don't absorb moisture, won't warp during freeze-thaw cycles, and can be wiped clean in seconds. They're built for real life in a real climate.
What You'll Need
- Flat wall panels (measure your wall and add 10% for cuts)
- Construction adhesive or double-sided mounting tape
- Spirit level and pencil
- Utility knife or fine-tooth handsaw for trimming
- Painter's tape to hold panels while adhesive sets
- Skirting board trim or finishing strips (optional but polished)
Step-by-Step: Saturday Morning
- Clear and clean the wall. Remove any artwork, outlet covers, and light switch plates. Clean the wall surface to remove dust and grease — adhesive bonds poorly to dirty surfaces.
- Mark your starting point. Use a spirit level to draw a perfectly vertical guideline from floor to ceiling at one edge of your feature wall. This line is the reference every panel will follow.
- Dry-fit the first row. Before applying any adhesive, lay out your first row of panels along the wall to confirm the layout and identify where cuts will be needed at corners or around outlets.
- Apply adhesive and press. Apply construction adhesive in a zigzag pattern across the back of each panel. Press firmly against the wall, aligning the interlocking edge with your guideline. Hold for 30 seconds and use painter's tape to support the panel while the adhesive sets.
Step-by-Step: Saturday Afternoon
- Continue row by row. Each subsequent panel slots into the previous one. Stagger panel joints by half a panel length on alternating rows — this creates a stronger bond and a more natural visual rhythm.
- Handle outlets and switches. Use a pencil to trace the outlet position on the back of the panel, then carefully cut with a utility knife. Take your time — these cuts are visible.
- Cut the final column to width. Measure the remaining gap, score the panel on the finished face with a utility knife, and snap cleanly. A fine-tooth saw produces an even cleaner edge if you have one.
Sunday: Finishing Touches
Once all panels are set (allow adhesive to fully cure overnight), reinstall outlet covers and switch plates — these conceal any small gaps around penetrations. If your panels don't run floor-to-ceiling, add a finishing trim strip along the top edge for a truly professional result.
Step back and look at what you've built. A feature wall that rivals the work of a professional fit-out team, completed over a single weekend, for a fraction of the cost.
Not sure which panel colour or finish suits your living room? Our team at SuperDeco Canada is happy to help you choose. Send us a photo and we'll recommend the right product — free, no obligation.